Installing solar panels is a great way to take control of your home’s energy production, do your bit for the environment, and even save costs over time. But how exactly is a solar panel system installed? What steps are involved? Can you do it yourself?
In this article, we’ll clear up all your questions about how solar panels are installed. Let’s start with where they typically go.
Where Do Solar Panels Usually Go?
The most common location for solar panels is on the roof of your home. This is because the rooftop is typically the part that receives the most uninterrupted sunlight — there are usually minimal obstacles between it and the sun and therefore no shade limiting how much sunlight reaches your panels.
The roof isn’t the only option, however. Some people opt to place their panels on the ground, as this can occasionally get more sun exposure than the roof — for example, if your roof is shaded by trees and you have a clear patch of land outside the house.
How Are Solar Panels Installed?
Installing solar panels is a multi-step process and can take a while. It all starts with making plans and ensuring you have all the right permissions and preparations in place.
Step One: Work Out If Solar Is A Good Idea For You And Calculate The Costs
The first step in the process is to take some time to figure out if solar is really a good idea for you. Consider factors like:
- Your location — do you get sufficient hours of sunlight per year?
- Is the upfront cost worth it to you?
- Is your home well-suited to having panels?
Spend some time working out how much it will cost to install and maintain your panels, and if the cost is feasible for you. Remember that a solar panel system will allow you to save significantly on utility bills over time and can also add value to your home, which can offset much of the initial cost.
Step Two: Get a Professional Evaluation
Once you have decided that solar panels are indeed for you, the first step is to have your home evaluated by solar professionals.
This is where an engineer will visit your home and check things like the electrical status, the condition of your property and roof (if that’s where your panels will be installed), and your electrical panel.
There may be some issues and you may need to make some changes. If everything looks good and is compatible with your solar plans, you can continue with the rest of the process.
Step Three: Find Out If You Need a Permit
In some areas of Australia, you require a permit to install solar panels on your property. In Queensland, this is not the case, but you still need to comply with building codes and standards.
“The installation is not required to be assessed by a building certifier as part of a building development approval. Repairing, maintaining, or altering an existing solar collector is also self-assessable building work. However, self-assessable building work is still required to meet all relevant building codes and standards”
Step Four: Set Up And Install Your Solar Panel Racking
The first stage of the installation process involves setting up the mounts for your solar panels — these are structures that support the panels on your roof. Your installation team will start by setting up scaffolding, and then install the racking at the correct angle for optimum sunlight exposure.
Step Five: Install And Wire Your Solar Panels
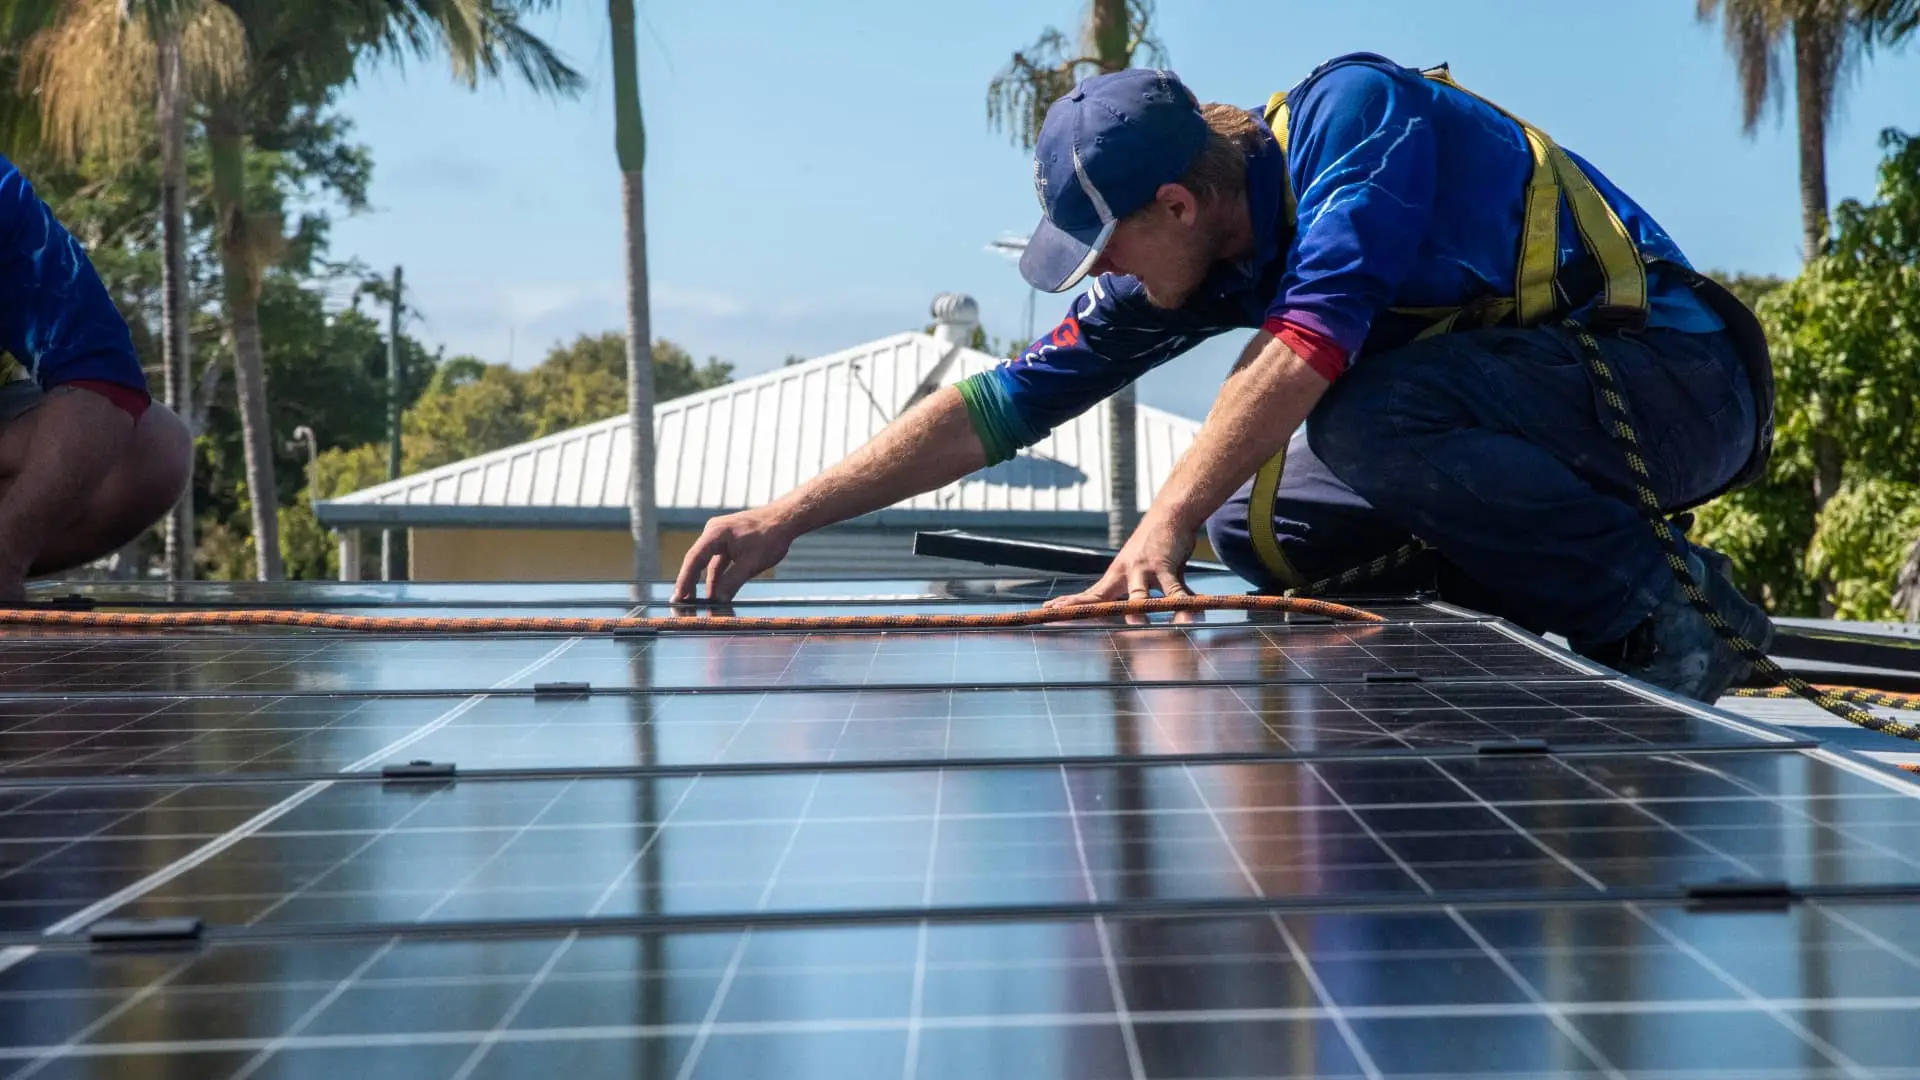
Once the mounts are set up, it’s time to fix your new solar panels into place. Once this step is complete, your engineer will set up the wiring for your panels to connect them to your home’s electricity supply.
Step Six: Install Your Solar Inverter
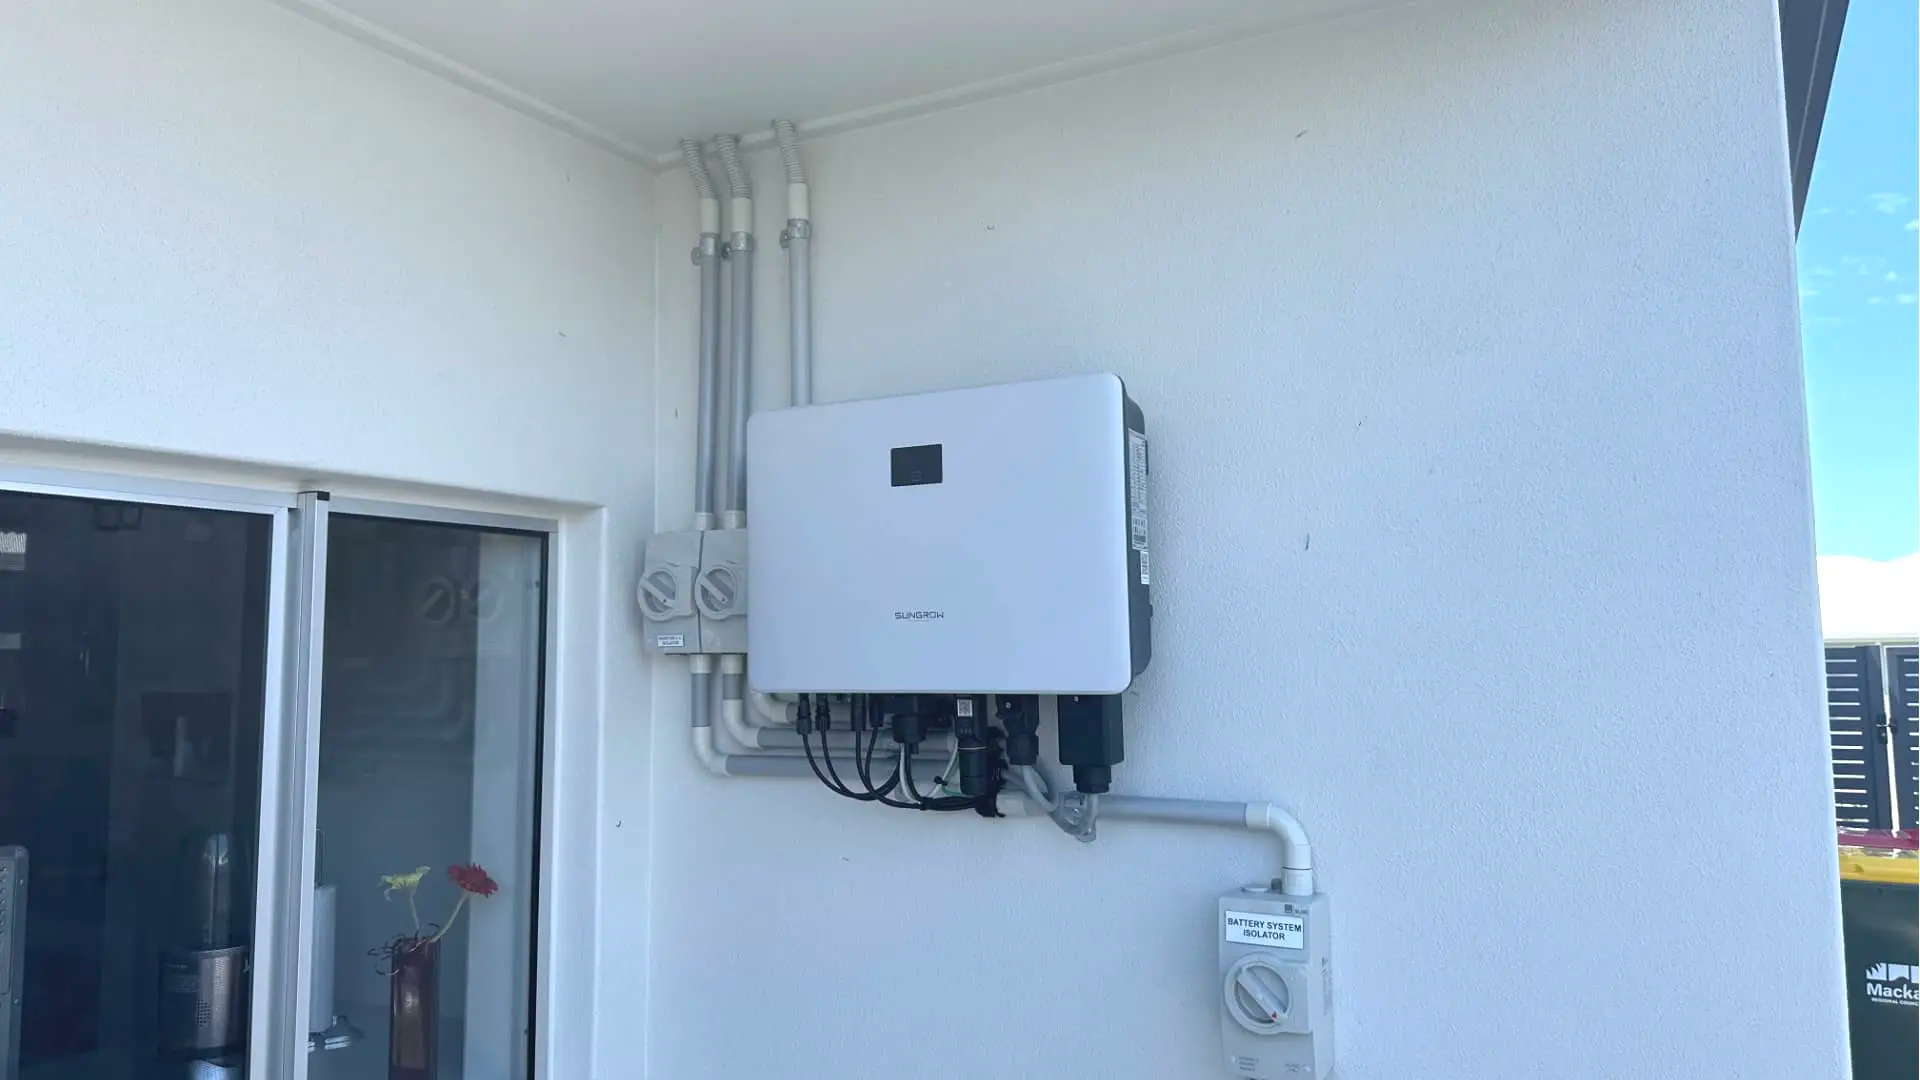
When the panels are set up, you’ll need to install your solar inverter — the device which converts DC energy in the panels into AC energy that can be used in your home appliances.
Step Seven: Set Up Your Solar Battery
If you choose to install a solar battery, it’s now time to install it and connect it to your solar inverter. A solar battery can be an extremely useful addition to your solar system since it allows you to store excess energy during sunny periods and use it later when your panels are less productive (at night, for example).
Step Eight: Start Using Your Panels!
Now it’s finally time to turn on your solar panels. Your engineer will likely run some tests to make sure everything is working, and then you’re ready to go. Remember to keep an eye on the performance of your panels, keep them clean, and notify your installation company if anything goes wrong. It’s recommended to have a professional inspection once every year or so.
How SnapSolar can help
Installing solar panels may seem like a daunting task, but at SnapSolar we can guide you through every step of the process, answering any questions you have along the way. We’ve done the same for countless households and businesses throughout Queensland, Get in touch to learn more about how we can help you.
Get Your FREE Quote Today & Save $$$!
Contact our team today and we'll get back to you as soon as possible to discuss your solar needs!
Get a FREE QuoteRelated Articles.

Solar Fact VS Fiction: 5 Myths About Solar Energy Debunked

Jackson Wyer

What Size Solar System Do I Need?

Jackson Wyer

What Is a Solar Inverter?

Jackson Wyer

